Introduction
This tutorial walks you through creating a minimal but functional HOOPS Visualize Web Components app using Vite (Vanilla JavaScript).

You’ll start from a fresh project, install the Web Components from your HOOPS Visualize Web (HVW) SDK, and build a simple layout featuring:
-
A 3D viewer powered by
<hoops-web-viewer> -
A Tools Panel (selection, measurement, redlines, markups)
-
A Model Tree linked to the viewer
All using plain HTML and JavaScript — no frameworks, no CDN.
The official HOOPS Visualize Web documentation already includes a startup tutorial of he Web Components.
This article complements it with hands-on validation, clarifications, and additional notes that might be helpful when trying the same steps independently.
Environment
This article was created and tested in the following setup:
| Tool | Version |
|---|---|
| Node.js | 20.19.5 |
| npm | 9.8.1 |
| HOOPS Visualize Web | 2025.7.0 |
1. Create the Project
Start interactively in your terminal:
npm create vite@latest my-first-web-components
Choose the following:
-
Framework → Vanilla
-
Variant → JavaScript
-
Use rolldown-vite (Experimental)? → No
-
Install with npm and start now? → No
Then:
cd my-first-web-components
2.Install SDK Packages from npm
Starting with HOOPS Visualize Web 2025.7.0, the Web Components packages are available directly from the official npm registry.
First, install the base project dependencies:
npm install
Then, install the HOOPS Web Components packages:
npm install -D @ts3d-hoops/web-viewer-components
![]() Note:
Note:
This feature is currently in beta, but fully functional as of version 2025.7.0.
The manual copy from SDK method is no longer required.
3.Copy the Engine and Model
mkdir public/engine
mkdir public/models
cp <HVW_SDK_DIR>/web_viewer/engine.esm.wasm public/engine/
cp <HVW_SDK_DIR>/quick_start/converted_models/standard/scs_models/microengine.scs public/models/
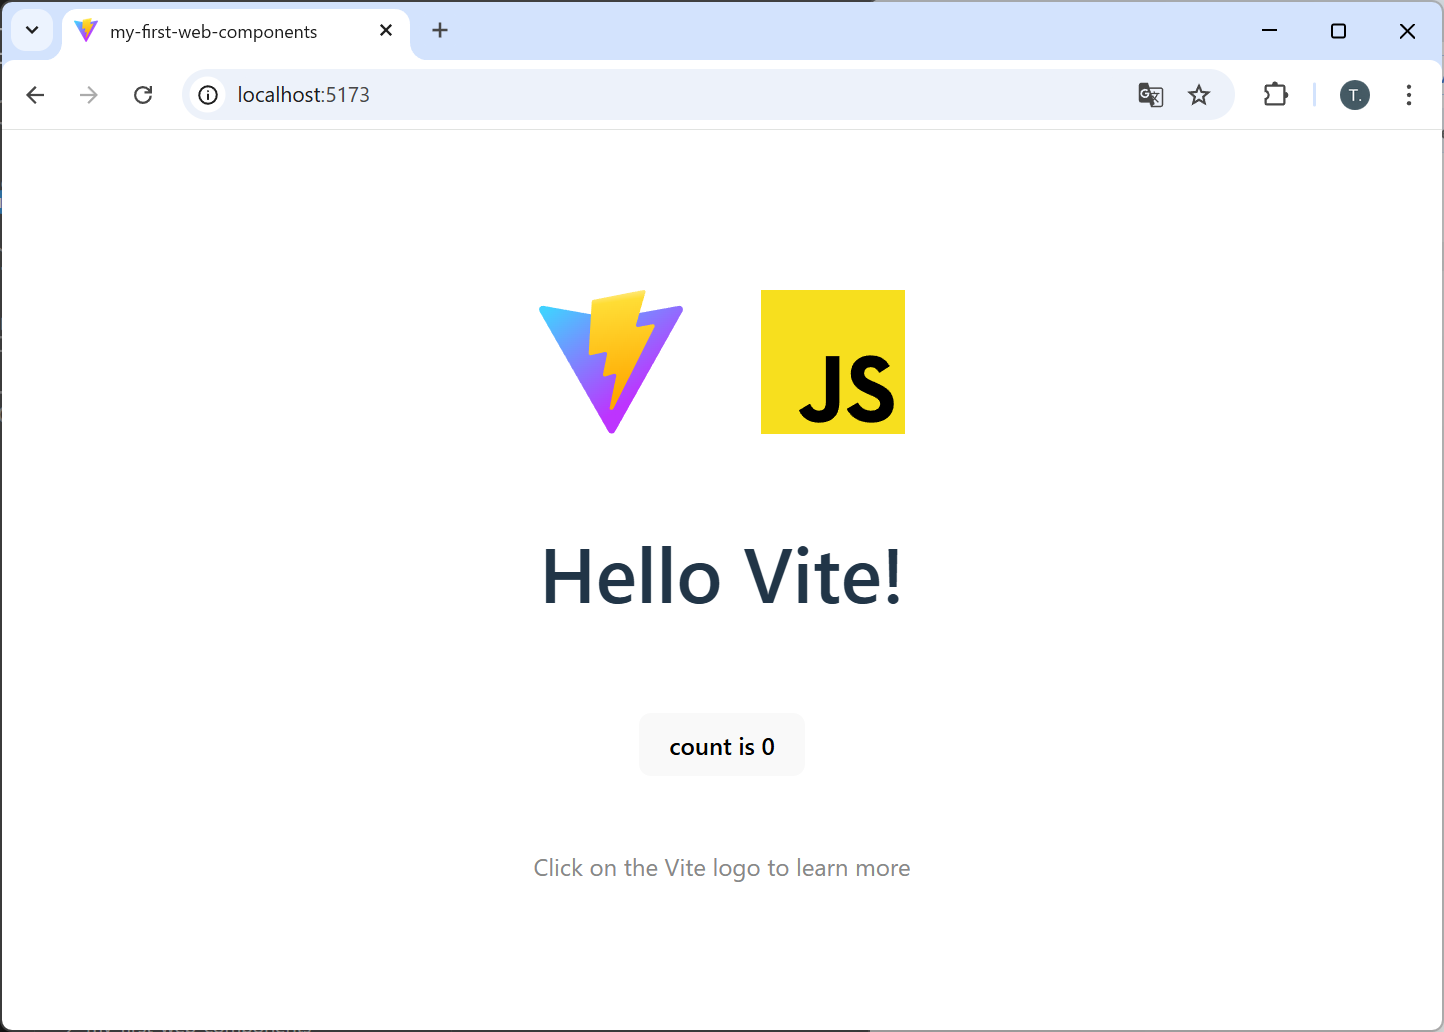
4. Verify “Hello Vite!” → Clean Slate
Run once:
npm run dev
Open the shown URL (http://localhost:5173/) and confirm “Hello Vite!” appears.
Clean up:
-
In
index.html: remove<div id="app"></div>. -
In
src/main.jsandsrc/style.css: delete everything.
You now have a blank project.
5.Minimal Viewer
Add hoops-web-viewer tag in the index.html
  <body>
    <hoops-web-viewer
      id="viewer"
      endpointUri="/models/microengine.scs"
      enginePath="/engine"
    ></hoops-web-viewer>

    <script type="module" src="/src/main.js"></script>
  </body>
src/main.js
import "@ts3d-hoops/web-viewer-components";
import "./style.css";
Explanation
import "@ts3d-hoops/web-viewer-components"
Loads and registers all the HOOPS Web Components (<hoops-web-viewer>,<hoops-tools-panel>, etc.).
src/style.css
html, body {
  height: 100%;
  margin: 0;
}

#viewer {
  width: 100%;
  height: 100%;
  display: block;
}
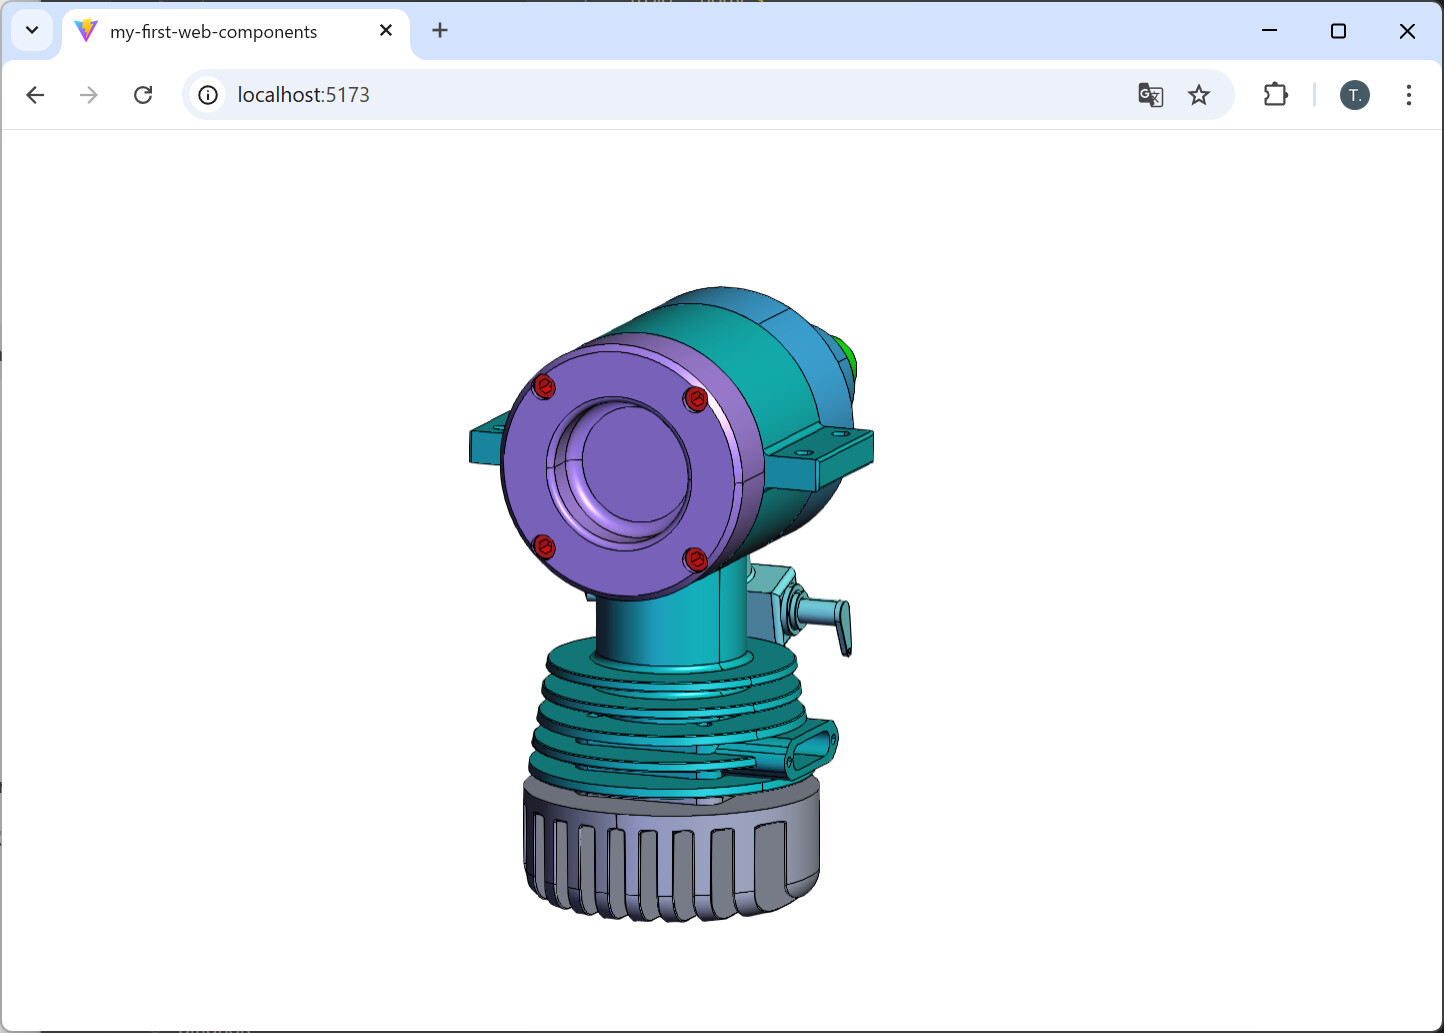
The viewer should render your model.
6.Callbacks (Adding Behavior with Events)
Once your minimal viewer displays the model, you can start responding to Web Viewer events.
Here, we’ll listen for the hwvSceneReady event to display the Axis Triad when the model scene is fully loaded.
Add your src/main.js as follows:
import * as Communicator from "@ts3d-hoops/web-viewer";

// Expose the Communicator namespace for access to enumerations and classes
window.Communicator = Communicator;

const viewer = document.getElementById("viewer");

// Show the Axis Triad when the scene is ready
viewer.addEventListener("hwvSceneReady", () => {
  const axisTriad = viewer.hwv.view.getAxisTriad();
  axisTriad.enable();
  axisTriad.setAnchor(Communicator.OverlayAnchor.LowerRightCorner);
});
Explanation
-
import * as Communicator from "@ts3d-hoops/web-viewer"
Gives you access to the Communicator API — including enumerations and classes such asOverlayAnchor,Camera,Point, and others. -
window.Communicator = Communicator
This line is required when you want to use Communicator enumerations or classes in your script.
It also makes the API available in the browser console for debugging and experimentation. -
hwvSceneReadyevent
Fires when the model geometry is fully loaded and ready for rendering.
It’s the right moment to enable overlays such as the Axis Triad or NavCube.
7.Add a Tools Panel
Wrap the viewer with <hoops-web-viewer-context-manager>
and add <hoops-service-registry> plus a <hoops-tools-panel>.
index.html
<hoops-web-viewer-context-manager>
  <hoops-service-registry></hoops-service-registry>
  <hoops-tools-panel></hoops-tools-panel>

  <hoops-web-viewer
    id="viewer"
    endpointUri="/models/microengine.scs"
    enginePath="/engine"
  ></hoops-web-viewer>
</hoops-web-viewer-context-manager>
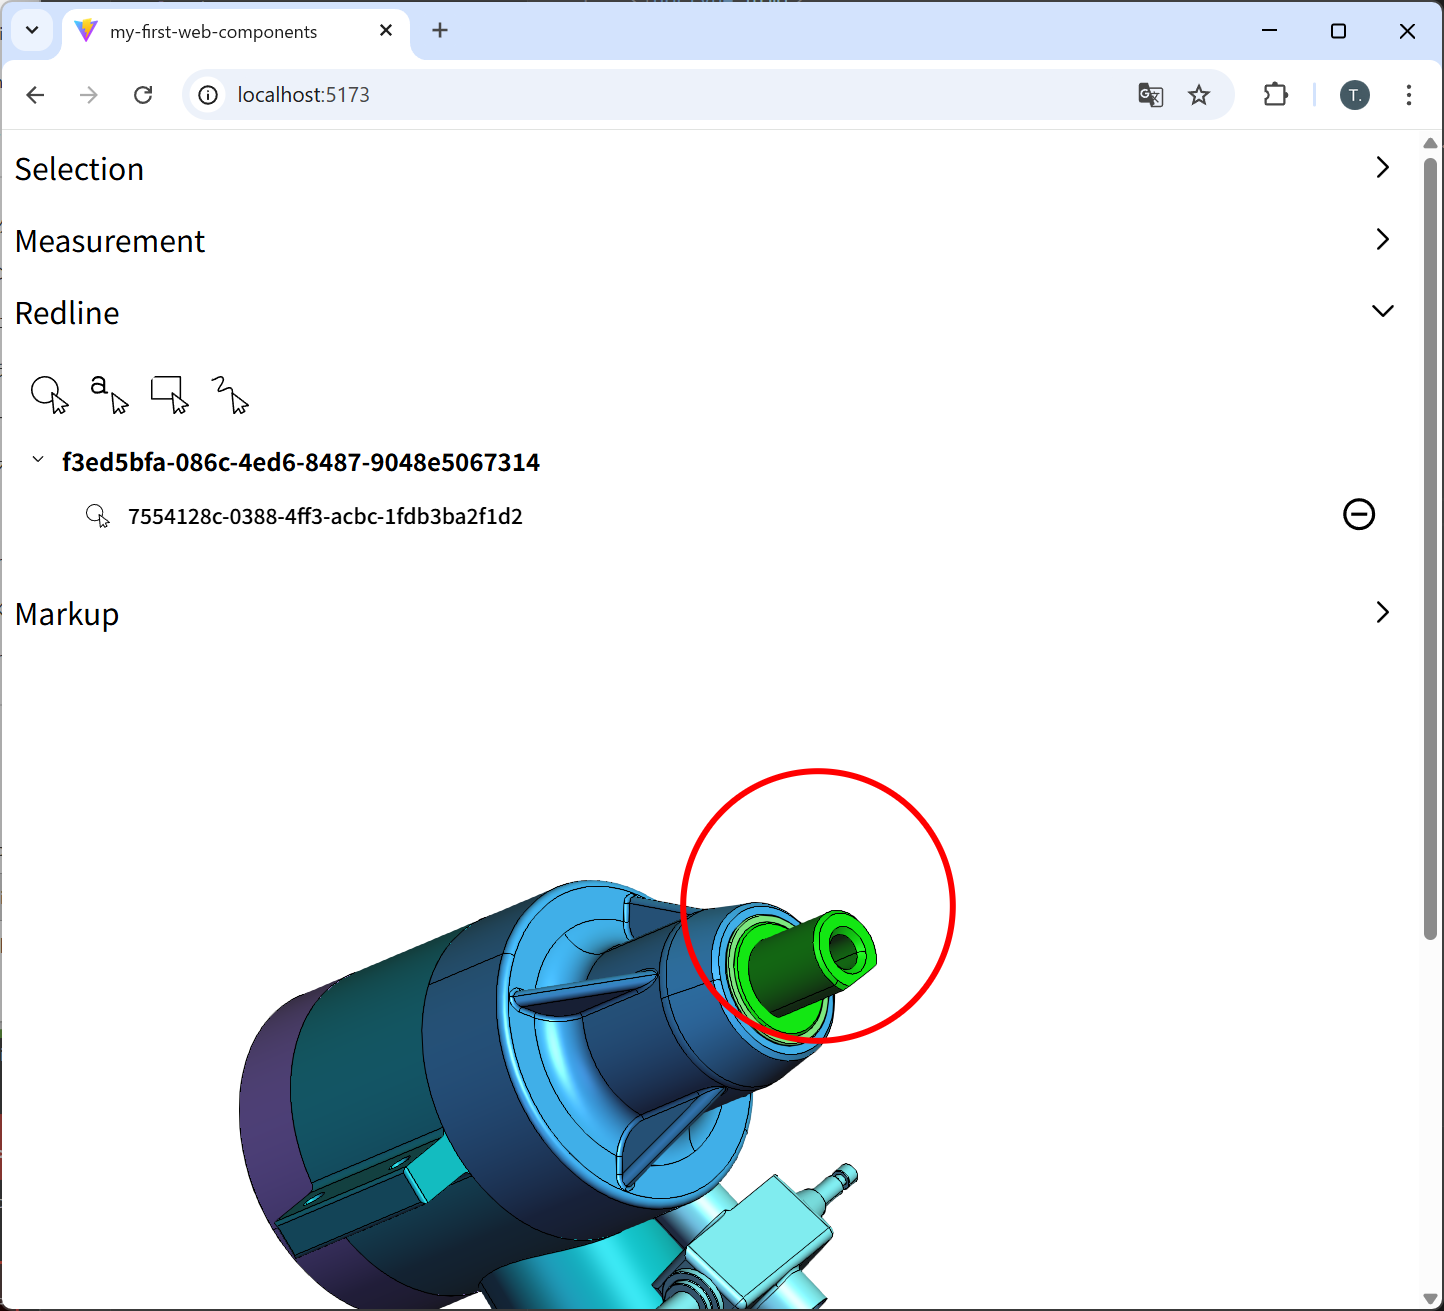
![]() By default,
By default, <hoops-tools-panel> already includes Selection, Measurements, Redlines, and Markups.
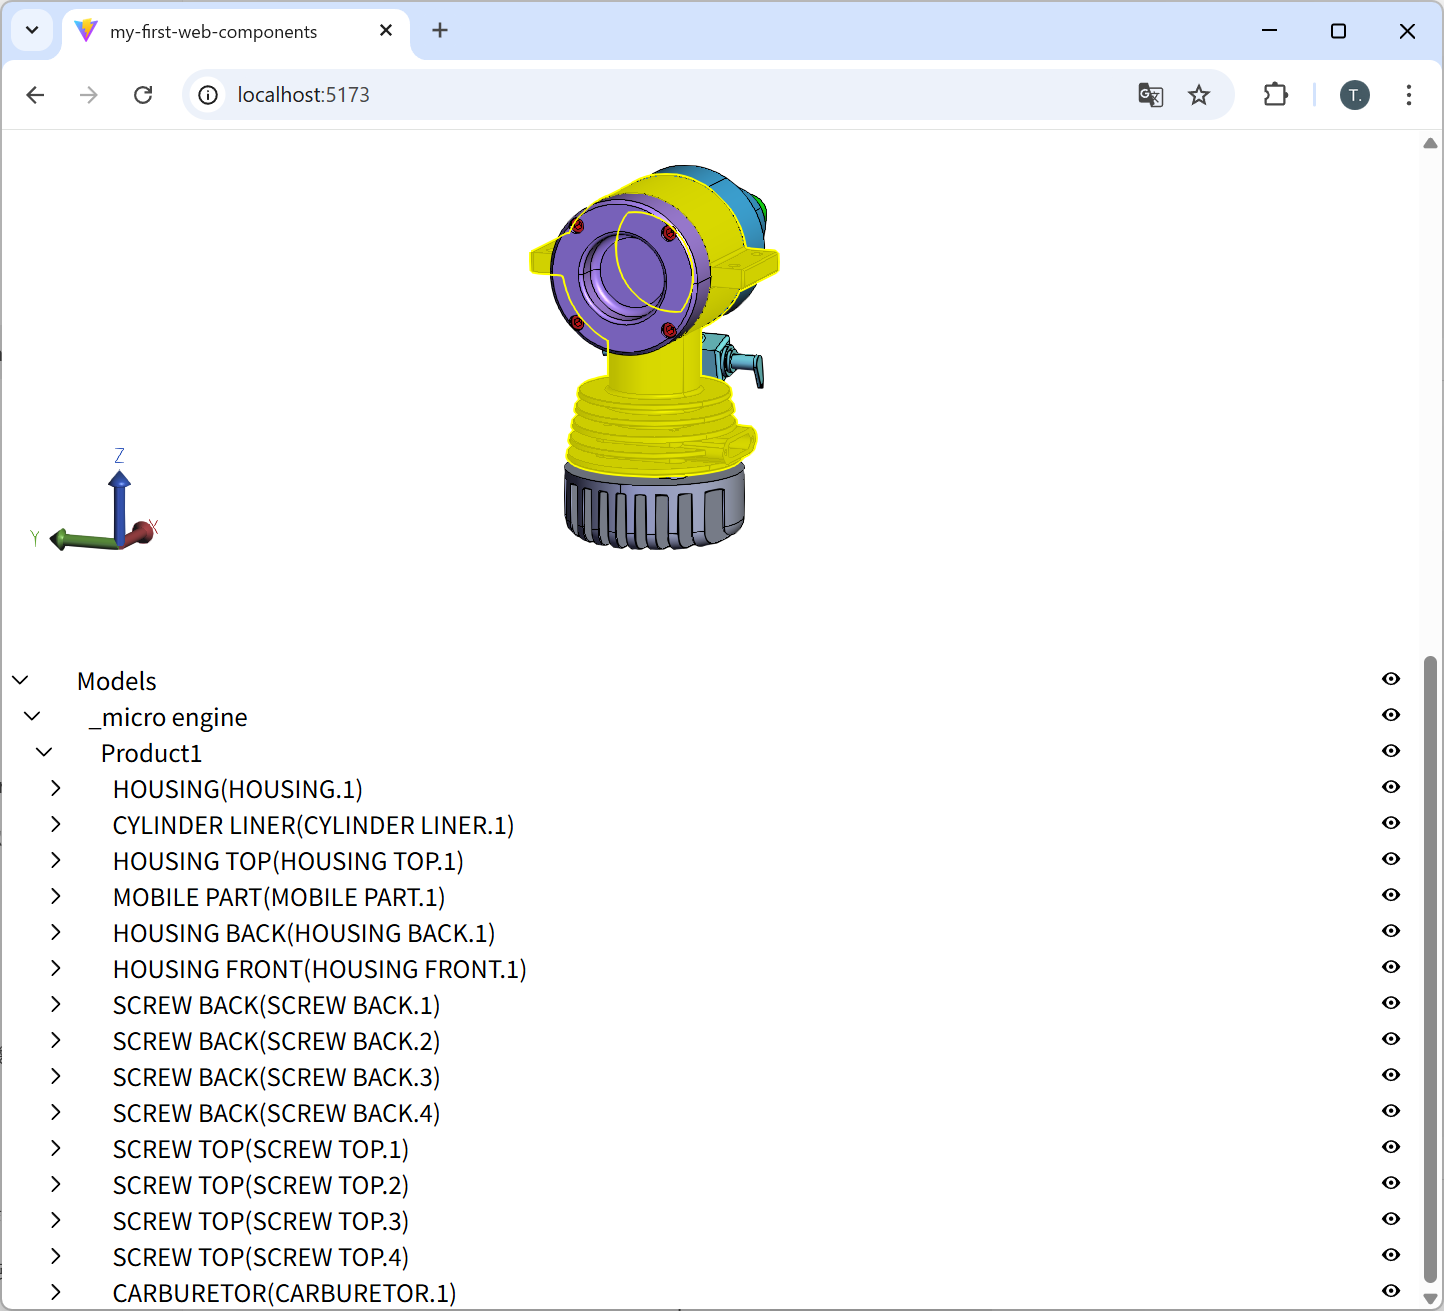
8.Add a Model Tree
Add <hoops-model-tree> and bind it when the model structure is ready.
index.html
  ></hoops-web-viewer>
  <hoops-model-tree id="tree"></hoops-model-tree>
</hoops-web-viewer-context-manager>
src/main.js
const tree = document.getElementById("tree");

viewer.addEventListener("hwvModelStructureReady", () => {
  tree.model = viewer.hwv.model;
});
9.Add Interaction Events
Highlight when a tree node is clicked, and clear highlights on empty clicks.
src/main.js (final form)
import "@ts3d-hoops/web-viewer-components";
import "./style.css";

import * as Communicator from "@ts3d-hoops/web-viewer";
window.Communicator = Communicator;

const viewer = document.getElementById("viewer");

const tree = document.getElementById("tree");

viewer.addEventListener("hwvModelStructureReady", () => {
  tree.model = viewer.hwv.model;
});

// Show Axis Triad when scene is ready
viewer.addEventListener("hwvSceneReady", () => {
  const axisTriad = viewer.hwv.view.getAxisTriad()
  axisTriad.enable();
  axisTriad.setAnchor(Communicator.OverlayAnchor.LowerRightCorner);
});

// Tree → Viewer
tree.addEventListener("hoops-model-tree-node-click", async (e) => {
  const { nodeId } = e.detail;
  await viewer.hwv.model.resetModelHighlight();
  viewer.hwv.model.setNodesHighlighted([nodeId], true);
});

// Viewer empty click → clear highlight
viewer.addEventListener("hwvSelectionArray", (e) => {
  const { selectionEvents = [] } = e.detail ?? {};
  if (selectionEvents.length === 0) {
    viewer.hwv.model.resetModelHighlight();
  }
});
10.Layout (Toolbar–Viewer–Tree)
Now let’s organize it using <hoops-layout>.
index.html (final form):
<!doctype html>
<html lang="en">
  <head>
    <meta charset="UTF-8" />
    <link rel="icon" type="image/svg+xml" href="/vite.svg" />
    <meta name="viewport" content="width=device-width, initial-scale=1.0" />
    <title>my-first-web-components</title>
  </head>
  <body>
    <hoops-web-viewer-context-manager>
      <hoops-service-registry></hoops-service-registry>

      <hoops-layout>
        <div slot="toolbar-left">
          <!-- Default tools: selection, measurements, redlines, markups -->
          <hoops-tools-panel></hoops-tools-panel>
        </div>

        <div slot="central-widget">
          <hoops-web-viewer
            id="viewer"
            endpointUri="/models/microengine.scs"
            enginePath="/engine"
          ></hoops-web-viewer>
        </div>

        <div slot="panel-right">
          <hoops-model-tree id="tree"></hoops-model-tree>
        </div>
      </hoops-layout>
    </hoops-web-viewer-context-manager>

    <script type="module" src="/src/main.js"></script>
  </body>
</html>
src/style.css (final form)
html, body {
  height: 100%;
  margin: 0;
}

hoops-layout {
  width: 100%;
  height: 100%;
  display: block;
}

[slot="toolbar-left"] {
  display: flex;
  flex-direction: column;
  gap: 8px;
  padding: 8px 6px;
  border-right: 1px solid #ddd;
  background: #f7f7f7;
}

#viewer {
  width: 100%;
  height: 100%;
  display: block;
}

[slot="panel-right"] {
  width: 300px;
  border-left: 1px solid #ddd;
  background: #fafafa;
  display: flex;
  flex-direction: column;
}

 Summary
You’ve now built a complete HOOPS Visualize Web Components app featuring:
-
Left: a full Tools Panel
-
Center: a 3D Web Viewer
-
Right: a Model Tree
-
All running under Vite (Vanilla JS) with the HOOPS Visualize Web SDK
This setup is clean, modern, and extensible — a solid foundation for any HOOPS-based web app.